FREE DELIVERY FROM 100€ IN FRANCE AND EUROPE

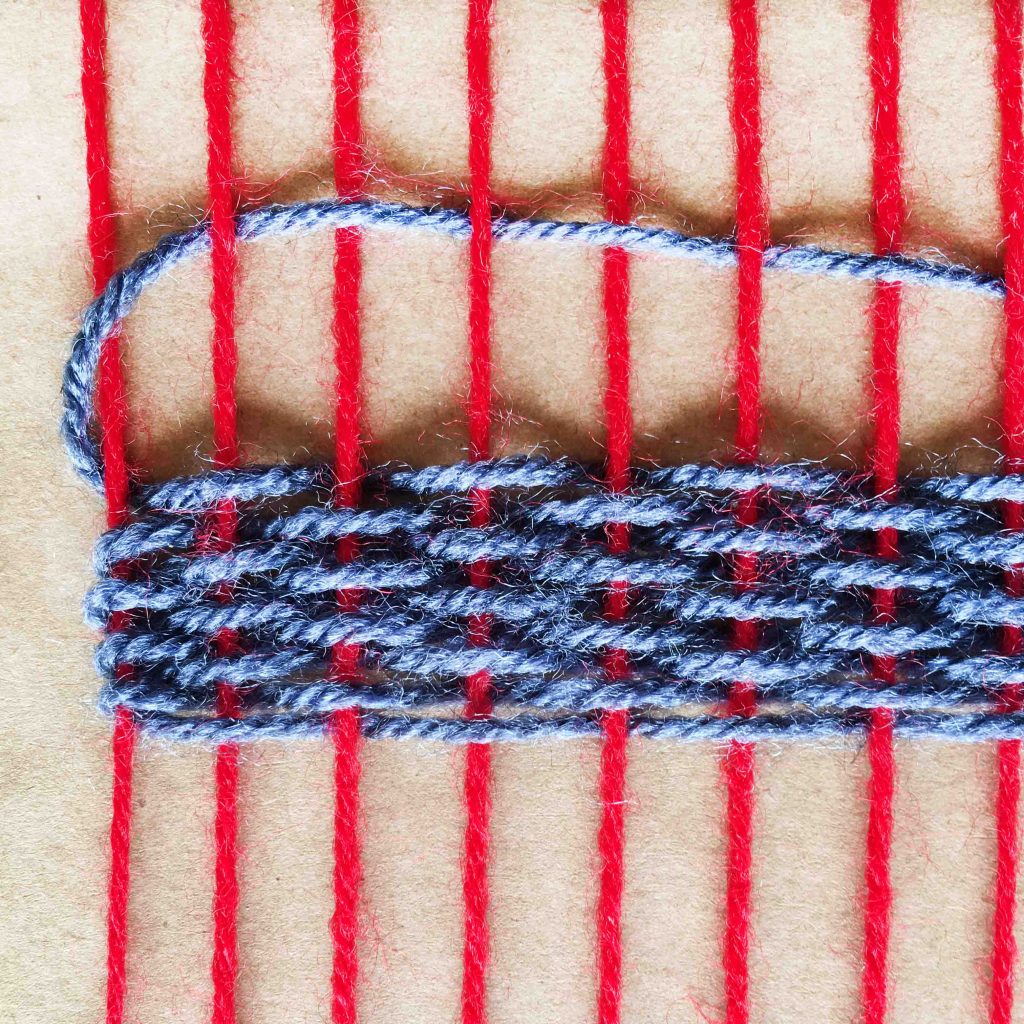
How do you make a loom? For the curious, young and old, here is a tutorial on how to make a loom in a few minutes and understand the basics of weaving.
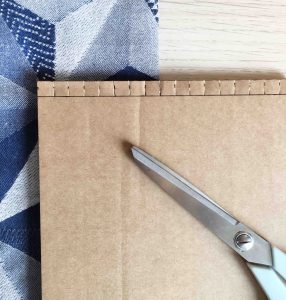
Draw a line across the width, 1 cm from the top of the board.
Mark each centimetre along the line. Repeat these 2 steps on the bottom of the cardboard as well.
Top and bottom: cut slits every centimetre: follow your lines!
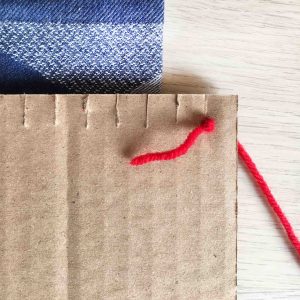
Make a simple knot at the end of your wool, keep the whole ball for now. Slide it into the first slot, the knot is at the back of the cardboard.
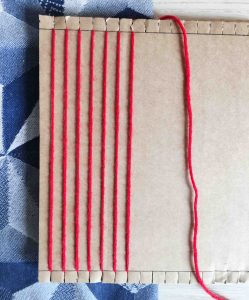
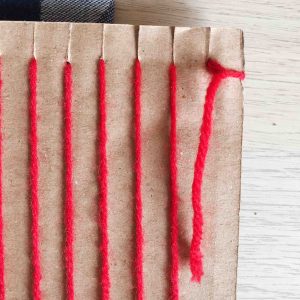
Once your grid is finished, it is called a fabric warp. In our factory, on our looms, there are more than 6,000 threads positioned side by side. The construction of the fabric warp is called in our terminology: Warping
Now the weaving will begin. You will weave a new thread through the grid you have just created (called the warp). This new thread is called the weft. Tie the weft thread in a simple knot on the first warp thread, on the side of your choice.
Pass weft yarn over every other warp yarn. In your head, this sounds like: “top, bottom, top, bottom…”, to be repeated across the width of the cardboard loom. Once the width is finished, simply press the weft thread down with your fingers. And off you go again for the next row, but be careful to reverse: “bottom, top…”
This interweaving of the warp and weft threads is called a web. There are an infinite number of possible interweavings. These different techniques are called “weaves”. The main weaves used in weaving are: plain, satin and twill. For a good readability of the patterns on the fabric, it is advisable to use a weave for each pattern.
Don’t hesitate to share your creations on social networks with the #tissagemoutet
For the more curious, come and discover all these techniques by visiting our factory in Orthez.